
8 Tracks
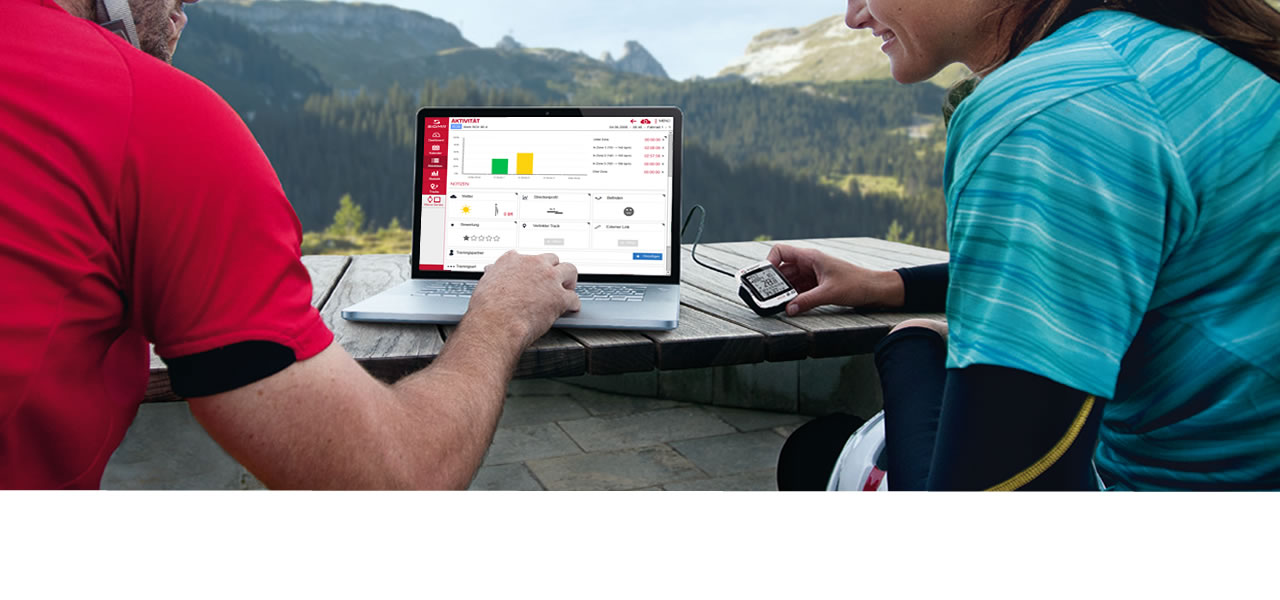
All DATA CENTER users can create, print, and share tracks. If you have a SIGMA device with GPS, you can record additional tracks and access further functions.
8.1 Tracks interface
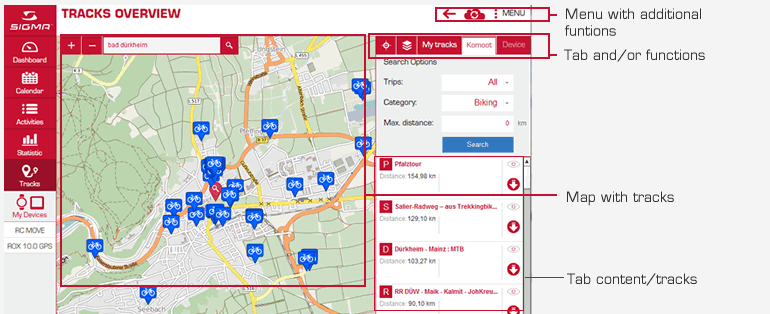
A background map is stored for route planning. You can also select other map views and display further information such as altitude lines and cycleways. Use the search field to quickly navigate to the appropriate map section.
8.2 Showing and importing tracks from portals
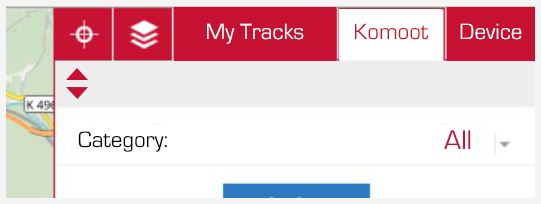
You can import planned tracks from komoot into the DATA CENTER.
Example:
You have created a track for a bike tour around Bad Dürkheim. Now, you want to transfer the the track tot he
DATA CENTER.
- Log in tot he DATA CENTER with your komoot account.
- After the registration, press the ‚Load‘ button.
- Now, all planned tracks that are listed in your komoot account, appear in your DATA CENTER (komoot tab).
Note: Only the komoot tracks of your unlocked regions are transferred. - After importing the track into the DATA CENTER, you can save, edit or transfer the track to a connected device.
8.3 Creating tracks
You can use DATA CENTER to create your own tracks using two different options:
- Create a beeline
Create a new track point without automatically following roads. - Create a route
Create a new track point and automatically follow roads.
Example:
You plan a route along cycleways from Bad Dürkheim to Neustadt an der Weinstraße. DATA CENTER is already on the screen.
- Enter Bad Dürkheim in the search field and press Return. The city is displayed in the center of the map. Note: If there are several possible options, a list is displayed. Select the applicable entry.
- Set the appropriate layer for your route planning.
Tip:
You can also display cycleways.
- Select Menu followed by Create new.
- Give the track a name.
- Save the track. The route planning functions are displayed on the map.
- Select the function Create a route.
- Click on the starting point for your route. A point is displayed and saved for the route.
- Now create the desired route point by point by clicking the mouse.

8.4 Deleting a track
- Click the letter icon. The activity is selected.
- Select all the activities that you want to delete.
- Select Menu followed by Delete.

8.5 Editing a track
Every track stored in DATA CENTER can be edited. Tracks from GPS portals must first be imported.
- Select the track to be edited. The map is displayed with the track.
8.5.1 Editing track details
If a track is stored in DATA CENTER, you can edit it.
Edit the track points using the mouse or by touch.
- Drag point
Select and move a point. - Delete point
Select a point. The Delete track point button appears. Click the button to delete the point. The track is re-calculated. - Add a new point to a track
Double-click any point on the track to create a new point. - Change route between two points
Click anywhere between two points to open a pop-up window. Here, you can switch between the various route options and ‘beeline’.
Other editing options can be found in the track settings.
- Point of Interest
Enter a locality or link to Wikipedia. - Add a track point
A new point is usually added to the end of a track. This function enables you to add a new point at the start. - Preferred routing
Specify the type of route - Reverse the direction
If you change the direction, the track is re-calculated and the route description is amended.

8.5.2 Adding information
You can add information to both your own and imported tracks. Use checkboxes to specify basic properties and mark the tracks, e.g. as for cycling or running.
Prerequisite:
the track is displayed for editing.
- Select i from the functions menu.
- Enter text in the description field.
- Select the activity for which the track is suitable. Depending on your selection, a different icon is later displayed on the map.

8.5.3 Creating and deleting POIs
Your own POIs are always stored on the track.
Example:
You plan a bike ride with friends and want to incorporate several restaurants as POIs.
Prerequisite:
The track has already been created and is displayed for editing.
- Click POI.
- Click the position at which you wish to add the POI. The POI window opens.
Note:
The POI cannot be directly on the track; it must be by it.
- Give the POI a name.
- Select the type Restaurant. Depending on the type, different icons are added to the map.
- Enter a description.
- Save the POI.
Tip - Deleting POIs
You can delete POIs again at any time. Select the POI and click Delete.
8.5.4 Assigning global POIs to a track
You can use the POI web service to display POIs. The POIs are highlighted in a different color and disabled. When you plan a track, you can activate such POIs. These are then assigned to the track displayed.
- Display a track for editing.
- Click the settings icon. The Settings window opens.
- Select a point of interest, e.g. hotels. All hotels in the map section are displayed as POIs.
- Select a POI, view a description, and add an icon for the POI to the track.
- Select the icon if the POI should appear on the track.
Tip - Deleting a POI from the track
You can delete a POI from the track again at any time. Select the POI and click Delete.
8.5.5 Transfer to device
This function is only available if a SIGMA device is connected.
- Connect your SIGMA device to DATA CENTER.
- Select Menu followed by Send to device.
8.6 Importing tracks
All tracks that you have as STF, GPX, KMZ or KML files can be imported into DATA CENTER. This function can be found on the dashboard, in the calendar, in the tracks and in the activities.
Example:
You have received a track as a GPX file from a teammate.
- Select Menu followed by Import file. The file selection window opens.
- Select the file. The file is imported and the tracks assigned.
Tip - Multi-import:
Hold down CTRL to select and import multiple tracks when selecting files (PC and Mac only).
8.7 Exporting tracks
For data exchange purposes, you can export tracks in STF, GPX, KMZ, or KML format.
Example: You have planned a long training route and want it to be available as a GPS track. You should therefore export the track in STF, GPX, KMZ, or KML format.
- Open the track for editing.
- Select Menu followed by Export file. The File window opens.
- Select the file format.
- Click Export.
- Select a storage location.
- Enter a meaningful name in the File name field.
- Click Save. The track is exported.
8.8 Synchronizing tracks with a SIGMA device
Prerequisite: You have modified a track that is on your SIGMA device in DATA CENTER
- 1. Connect your SIGMA device to the computer.
- 2. Go to Tracks.
- 3. Select the Device tab. The synchronization icon appears under the distance.
- 4. Click the synchronization icon. The track on the device is synchronized with the track from DATA CENTER.


8.9 Printing a track
You can print tracks. Use the print options to specify which data should be printed.
Example: You plan a bike ride and have created a track for it in DATA CENTER.
Prerequisite: the track is displayed for editing.
- Select Menu followed by Create printable PDF. A print options window opens.
- Select the desired options.
- Click Print Preview. A PDF is generated and displayed.
- Print the PDF.


 Close
Close
